DIY Gullwing Guide - All the hardware you need + plans/drawings
Daniel LasryMaking you own gullwings is a very doable DIY project! In this post we will give you all the steps, drawing files, templates, links to all the hardware, and instructions.
All you need are some basic tools, and a way to cut a sheet of aluminum (a jigsaw will do). The rest is off-the-shelf hardware.
All the hardware you need:
You may already have some of this hardware, and some of these links are to buy in bulk. You may buy smaller quantities at a local hardware store.
| Item | Amount Needed Per Gullwing |
| Hinge | 2 |
| Latch | 2 |
| Gas Strut | 1 |
| Ball Stud L Bracket | 1 |
| Ball Stud Straight | 1 |
| Security Screws | 8 |
| Small Washers | 4 |
| Large Washers | 4 |
| Nuts | 4 |
| Screws For L Bracket Stud | 2 |
| Clip Nut | 1 |
| RivNut | 4 |
| Replacement Bolt for latches | 2 |
| L Key for security screws | 1 |
| Gasket Seal | 8 ft |
The tools:
- Window removal Tool
- Rivet Nut Setter
- Trim Removal Tools
- A way to cut the gasket (e.g. cable cutter)
- 10mm and 12mm wrench
- 10mm socket or wrench
- Marker
- Phillips screwdriver
- Calipers, ruler or tape measure
- Center hole punch
- Drill & Bit set
- Utility Knife
- Jigsaw (or something to cut 1/8" aluminum)
Drawing Files:
And finally here are some drawing files. You can use these as a template, or send the .dxf to be cut by a manufacturer like Send Cut Send or oshcut
We recommend 1/8" (3mm) sheet aluminum.
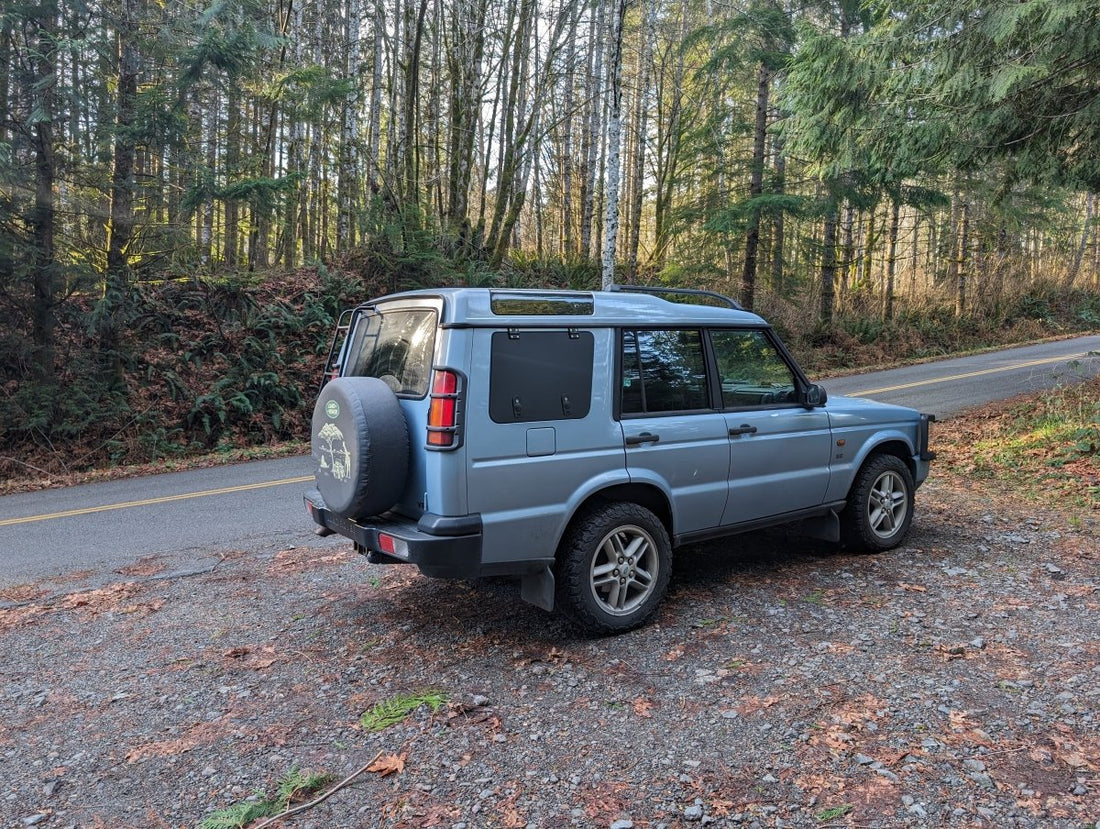
Discovery 2
Discovery 1
- Coming soon!
Steps:
Cutting your own panel
We recommend a sheet of 1/8" (3mm) aluminum.
If you removed the window from the vehicle, you can use it as a cutting template. Otherwise, you can use the drawings provided above to create a cutting template. Trace the outline and then cut with a jigsaw using a metal blade (or whatever tool you prefer).
You can also buy just the powdercoated panel form us and provide your own hardware.
Assembly
For assembly, refer to our gullwing install instructions. You can also watch our YouTube video which shows the full process including window removal.
Questions? Just contact us.

